Showing posts with label Back to School. Show all posts

Sunday, August 30, 2015

Back to School Bash with The Primary Pack


Our hop is a 3…2…1… BACK TO SCHOOL BASH because each member of The Primary Pack will be giving you 3 teacher tips, 2 giveaways (one on each of our blogs and one BIG one on the Primary Pack), and 1 freebie!

To enter our BIG giveaway, you need to head over to THE PRIMARY PACK first! As you "hop" through each of our blogs, you will collect a letter from each of us… 28 total. Those letters spell out a secret code that you need to enter our BIG giveaway! You will use the secret code to enter the rafflecopter on The Primary Pack at the end of the hop.

You need to collect the letters from us IN ORDER, so please make sure that you start from the beginning of our hop. Click on the button below to head over to THE PRIMARY PACK and start our BACK TO SCHOOL BASH!!


Take LOTS of pictures!  I'm like the paparazzi in my room.  Kindergarten is such an important year and a year of growth.  I'm always amazed looking at my students from the beginning of the year to the end of the year and seeing how much they have changed.  Parents miss so much and they will appreciate the pictures you take and if you have a way to share them throughout the year or at the end of the year via a slideshow, dvd, youtube link etc.


Be patient.  Especially if you teach Kindergarten. We often remember the way our kids were at the end of the year and forget that we have to teach them EVERYTHING...and they take things literally.  It takes time, they will get there.  Be firm, but loving.  Repeat yourself and be explicit with your instructions. 


Get your work done even if you have to work a little late, but don't forget to take time for yourself and your family.  Don't overwork yourself!  You are not going to be an effective teacher if you are tired and moody.  Get rest and be happy! :) 


The Primary Pack is giving away a Cameo y'all!! Have you seen one? #lifechanging I have used mine this year to make my bulletin boards cuter and added vinyl to all kinds of things! Here are some ideas of how I use my Cameo in my room:


There are tons of back to school packs in my TpT store you could use and what better way to get them than with a $10 store credit? Head over and make your wishlist so if you win, you'll know what to choose! :) 


Here's a freebie you definitely need to start the year with: 


I use this to help my littles learn to cut strips, wavy/curvy lines, and shapes.  Before I give them this, I show them how to make "salad" by giving them pieces of bulletin board paper.

I give them green paper to tear.  This is the lettuce of their "salad." Then I give them a strip of yellow paper to snip, this is their cheese.  Last I give them a piece of blue to teach them to fringe cut, we call this a fancy napkin.  This really teaches them how to use their hands together and show some control with cutting.  It's a great lesson! (It will take you several days to teach!) 


You've made it to the end of my post, so here's my letter!


Find your next letter here:


Happy hopping!!

post signature

Thursday, September 11, 2014

First Day Fun

I know my blog posts are out of order! So are my thoughts right about now :)  Just go with it!  

In Kindergarten, we stagger enrollment so we only have half our class the first 2 days. (Do you do this wherever you are?) This is a great way for us to help the students learn the rules and routines, learn their way around the school etc.  

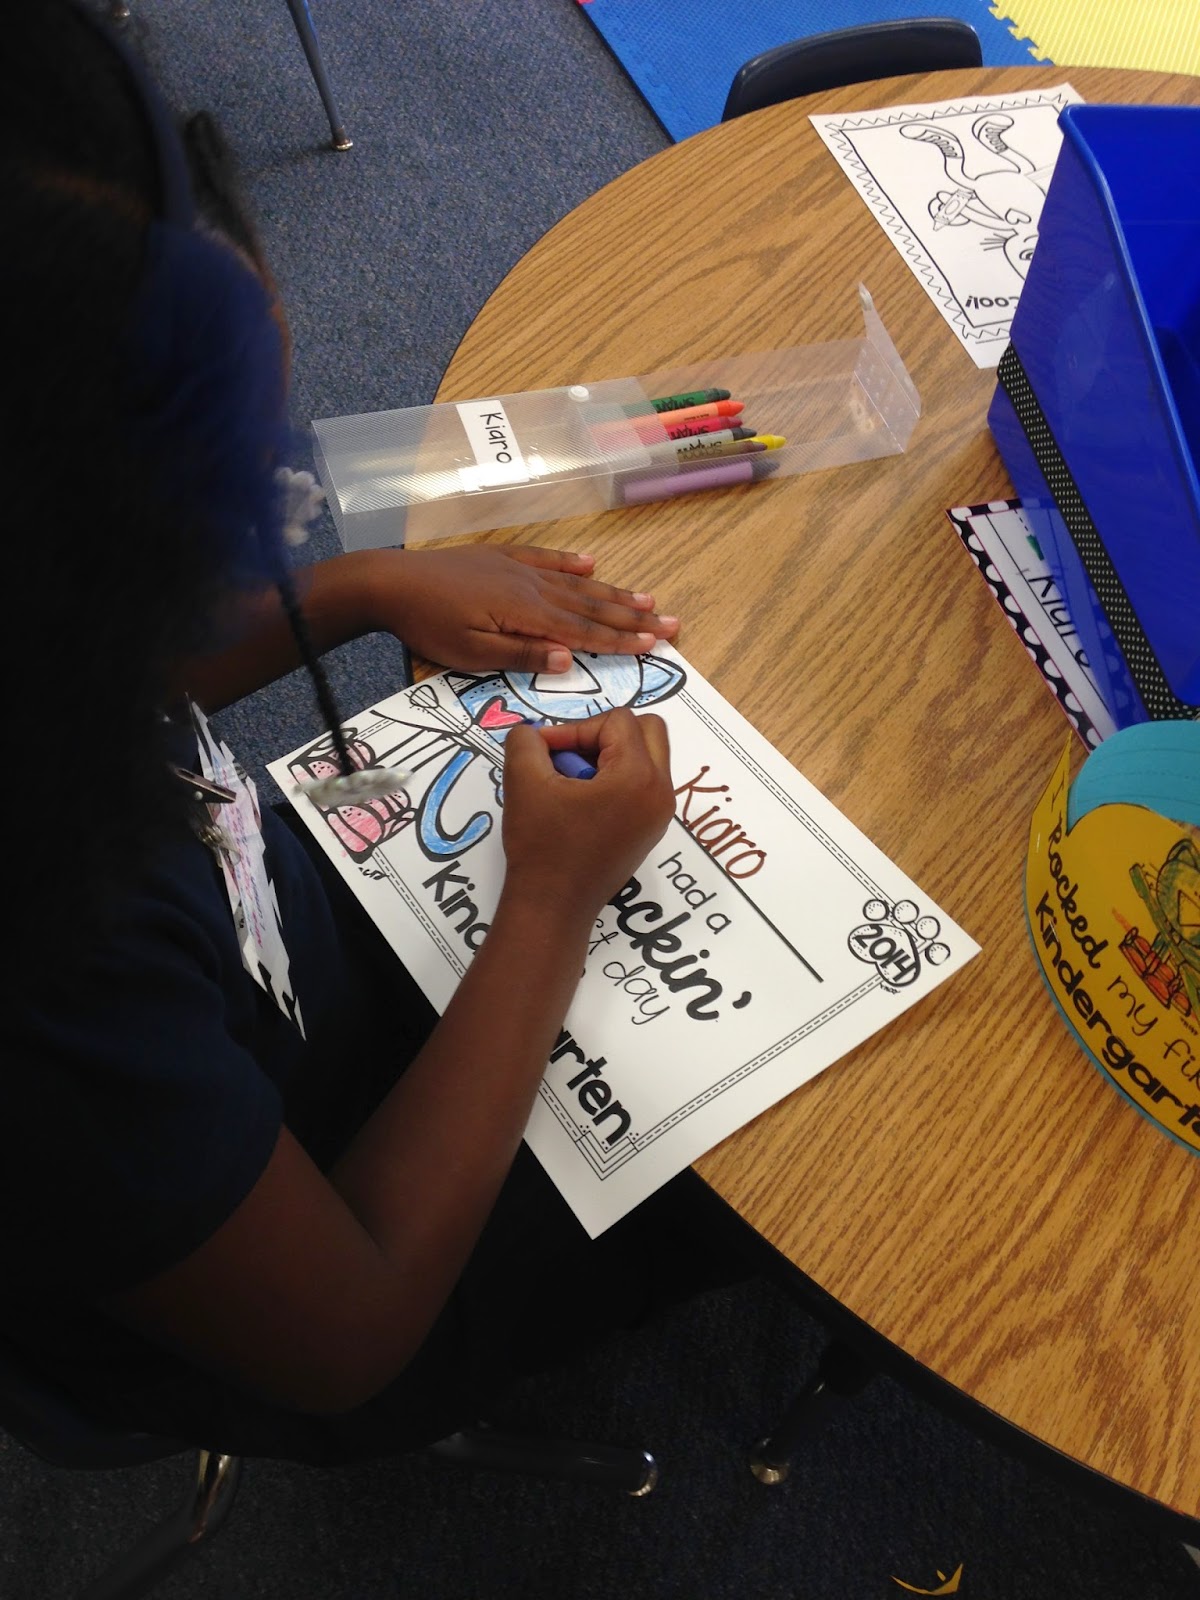
We always plan our day around some sort of story and I know a lot of teachers like to use The Kissing Hand, but I just didn't want to do that story this year, so when I saw this Cool Cat First Day of School Pack from Live Love Laugh Kindergarten, I knew which story I was going to use!


I knew the kids would love this book and it would make the first day a little more fun! Tammy includes hats and certificates, so we did both! 


We will definitely keep this tradition! I loved these! :) 

post signature

Tuesday, September 9, 2014

Jazzing up your Caddies!

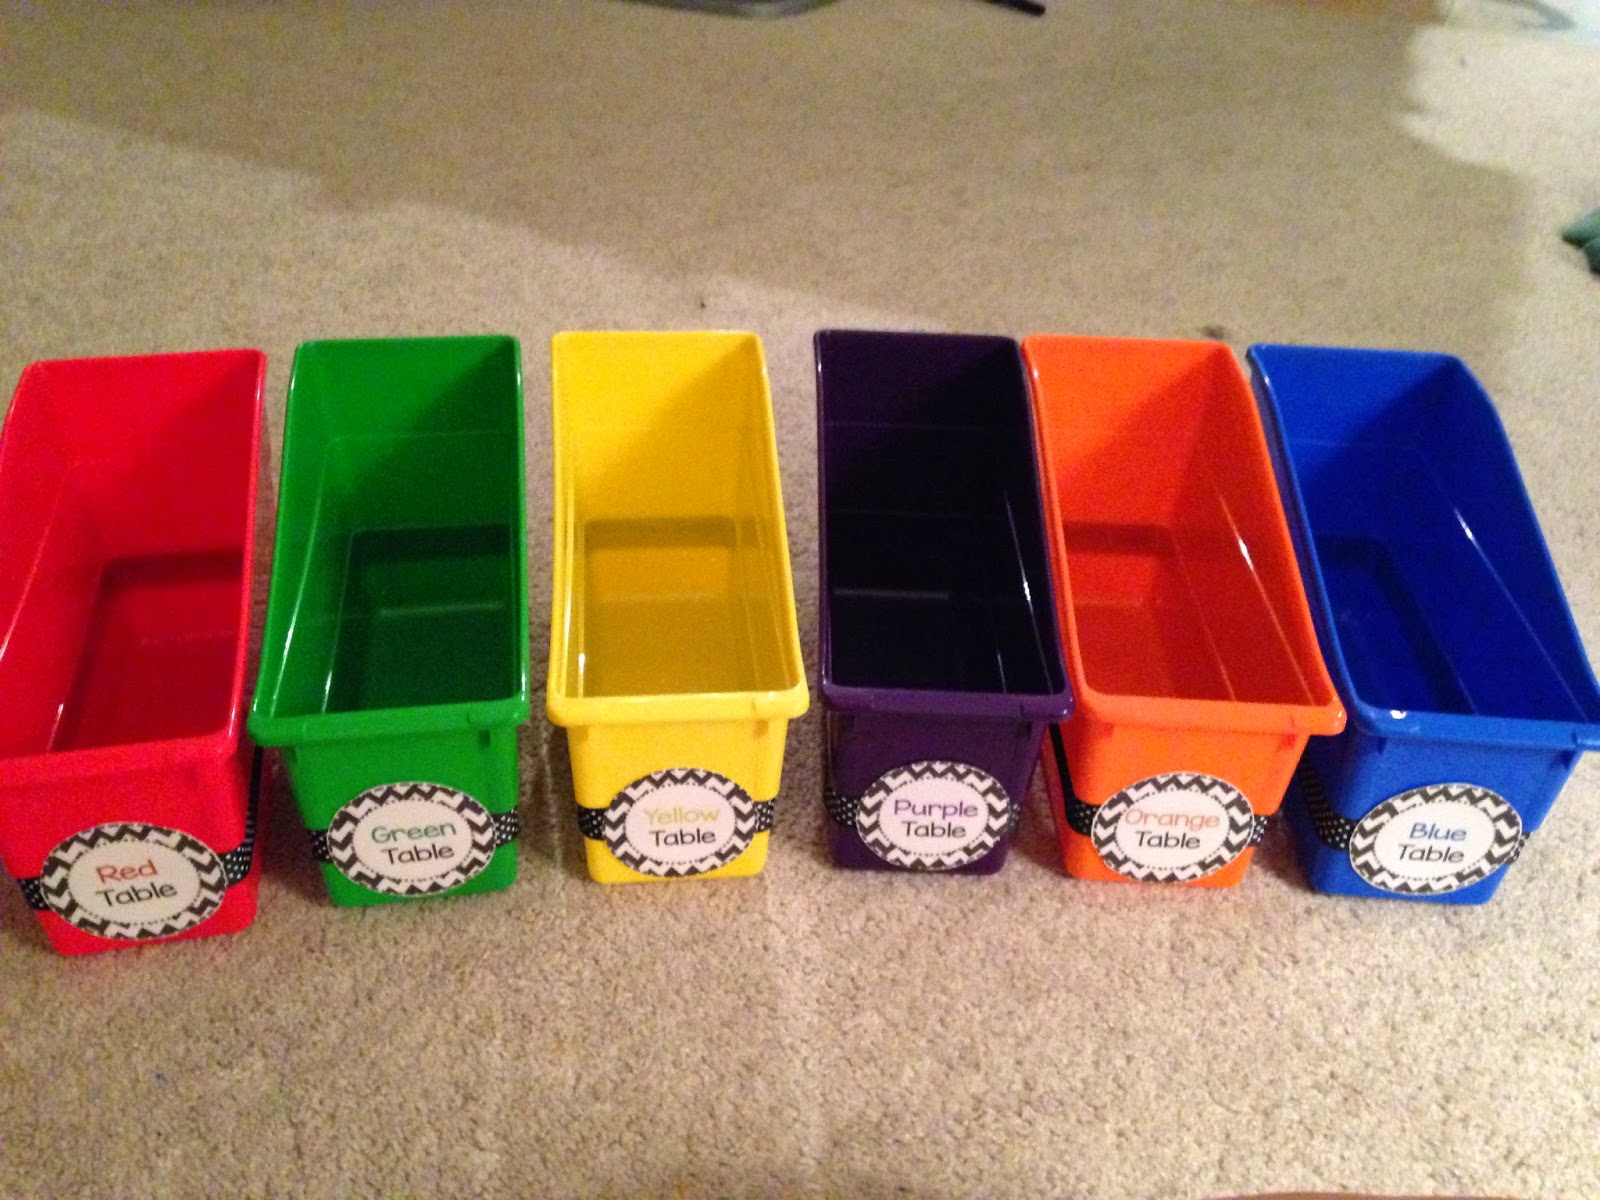
I jazzed up my caddies last year after seeing a post from Erica Bohrer, but when I went to school this summer and started getting my room, I discovered my caddies were disgustingly dirty and a few of my book bins were cracked.  I order these gems from Oriental Trading and fortunately scored a free shipping coupon, so they weren't too much more expensive from Michaels or the teacher store where I couldn't find all the colors I needed.  

For this project you need:  The Caddies, The Book Bins, Ribbon, Scissors, A Hot Glue Gun, and Glue Sticks. (The Cordless Hot Glue Gun is not required, but let me tell you that it is well worth the extra $5-10 and I LOVE, LOVE, LOVE mine.)

I know absolutely nothing about measuring and ribbon, so I took a picture of the kind I used in case you needed to know that.


For the caddies, start on the long side, but in the middle.  Put your hot glue on half and lay the ribbon on top.

Keep doing the same thing all the way around until you get back to the front and then you will meet the two pieces together. Don't worry about the two pieces because you are gonna cover them.


These book bins had a line on them that I followed, and you do the same thing...start in the middle and go around.


 Ok, about the spot where the two pieces meet up.  To cover that you need a cute little sign.  I printed mine on card stock and laminated them.  I decided to vary the pattern and go with some chevron. I have both patterns in my room.


Glue them right on the front and voila:


These caddies look super adorable on my table and the ribbons just give them a little something! What do you do you jazz up your room?

Grab the Table Labels for Free here! :) 


post signature

Monday, September 8, 2014

Chicka Chicka Boom Boom Picture Frames

I'm a little late blogging about this one, but I had to get pictures taken for these frames to get them on the wall.  We make these frames with our kids EVERY year and leave them up all year! It's so fun to give them back to the kids at the end of the year and see how much they have changed! 

You need 1/4 of a yellow sheet of construction paper and then you die cut a rectangle out of it to make the frame.  The tree and polka dots are free form, so you just give the students squares/rectangles of each color of paper and model how to do those.   The letters are from Walmart/Michaels are are prebagged in Ziploc bags for each student.   (They have a sticker on the back, so they stick right on.)


This particular student did a really awesome job on cutting her pieces (This close up is from last year but I never got around to blogging about it last year for some reason!), but don't expect them all to look this perfect. I love how their little personalities show through a free form activity! They also tend to mix up the letters in their names and you may have to redirect them a few times :) 


When they are all finished, I add their pictures and staple them on the wall around my Coconut Tree. (I purchased this one a few years ago from the local teacher store and just leave it up all the time.) 

I adore this little craft and the kids are super proud when they are done!  My group this year did an amazing job and they all look so cute!
post signature

Tuesday, September 2, 2014

Cutting Practice

A few years ago, I read a blog post from Shuna over at Pocket Full of Kinders about teaching your students to cut.  I never "taught" my students to cut, we just dove right into it.  Her post made a lot of sense because some of the students honestly had never seen a pair of scissors in their lives and definitely needed some practice.

We try to make everything relevant, so I told them we were making salad.  I made all our parts out of bulletin board paper.  We started by TEARING paper.  I forgot to take a picture of this somehow.  The point of tearing the paper is to teach them that their hands have to WORK TOGETHER.  This was very frustrating for some students, but that's ok! Encourage, encourage, encourage! Have them tear their paper into a plate to save the scraps and a mess!   Next I gave them a yellow strip of paper to practice SNIPPING.  We called this the cheese for our salad.  I told them it was like a chef that cut up veggies super fast but we were gonna "snip snip snip" instead of "cut cut cut" and they loved that.  This teaches them to make small quick cuts while letting their hands work together.


The last thing we did that day was FRINGE cut.  This helps teach them control with the scissors! (We called this our hula napkin.)  When we practiced we would say "cut, cut, cut and STOP" so that they didn't cut all the way through.  I reminded them again that their hands had to work together.


The next day, we practiced cutting long strips.  This is important to us because when we do a cut and paste worksheet they have to do this and we want to minimize trash and do it efficiently.


We also practiced cutting curved lines, zig zag lines and wavy lines.  This was somewhat difficult, but they did quite well with the task!


Finally we cut out shapes, a circle, triangle and square, which didn't seem to be a problem for anyone after all of that cutting and somehow I missed pictures of that! 

The prep work for the first part is a little time consuming but so worth it! If you'd like some extra practice with the second part, grab it here for free! 


How do you help your students learn to cut?

post signature

Related Posts Plugin for WordPress, Blogger...